Natural Makeup in 5 Minutes Using Only 5 Products
- Lori Thomas

- Mar 17, 2019
- 7 min read

If you've ever wished you could find that happy medium between underslept-zombie face and I-spent-2-hours-in-the-bathroom-to-achieve-this-look face, you are not alone. Sometimes makeup can feel very "all or nothing", so it can be easer to ditch it completely if you want to look natural, or risk looking like an over-done clown if you wear too much.
I'm here to tell you that no-makeup-makeup is a thing. And that once you create a routine that works for you, it will be quick, painless and easy. In fact, with what you'll learn here, it won't be long before you can slap on a face in 5 minutes and get out the door looking like you actually slept well last night!
Hi, my name is Kat Elizabeth and I have spent the last 20 or so years trying to find that perfect balance with makeup. I even went so far as to study makeup artistry only to realize that you don't actually need special qualifications or professional brushes to do great looking makeup. The technique for natural makeup is simple, it works with just about any products, and the only variable is your face. Seriously! Once you understand your skin type and get a good color match, you're off and running. So today I'm going to give you a quick lesson in creating a very simple and natural look that you can do in a hurry with only 5 products.

You ready? Let's dive in!
Preparing Your Skin
I won't get into skincare with this lesson, but I will tell you that by cleansing your face (with actual cleanser, not soap please!) and moisturizing, your makeup will sit so much better on your skin. Your skin will be grateful too, as the moisture won't be sucked right out of it when you apply the base. You're welcome to apply a primer too, but if that's outside your comfort zone at the moment, ignore what I said and jump straight to Step 1.
STEP 1: The natural base
This step is going to have the biggest impact on how much makeup you like like you're wearing, so you'll want to choose your product wisely. If you can't stand foundation and want an almost invisible base, go for a tinted moisturizer or BB cream. If you like a bit more coverage or need to even out your skin tone, then a CC cream or light-medium (or buildable) coverage foundation is best. You can apply it with your fingers (I do most days, despite owning 50 different brushes & sponges!) or if that weirds you out, use a damp beauty blender or a foundation brush. Whatever you use, just make sure you blend the product past your jawline and onto your neck so you don't have that obvious makeup line.
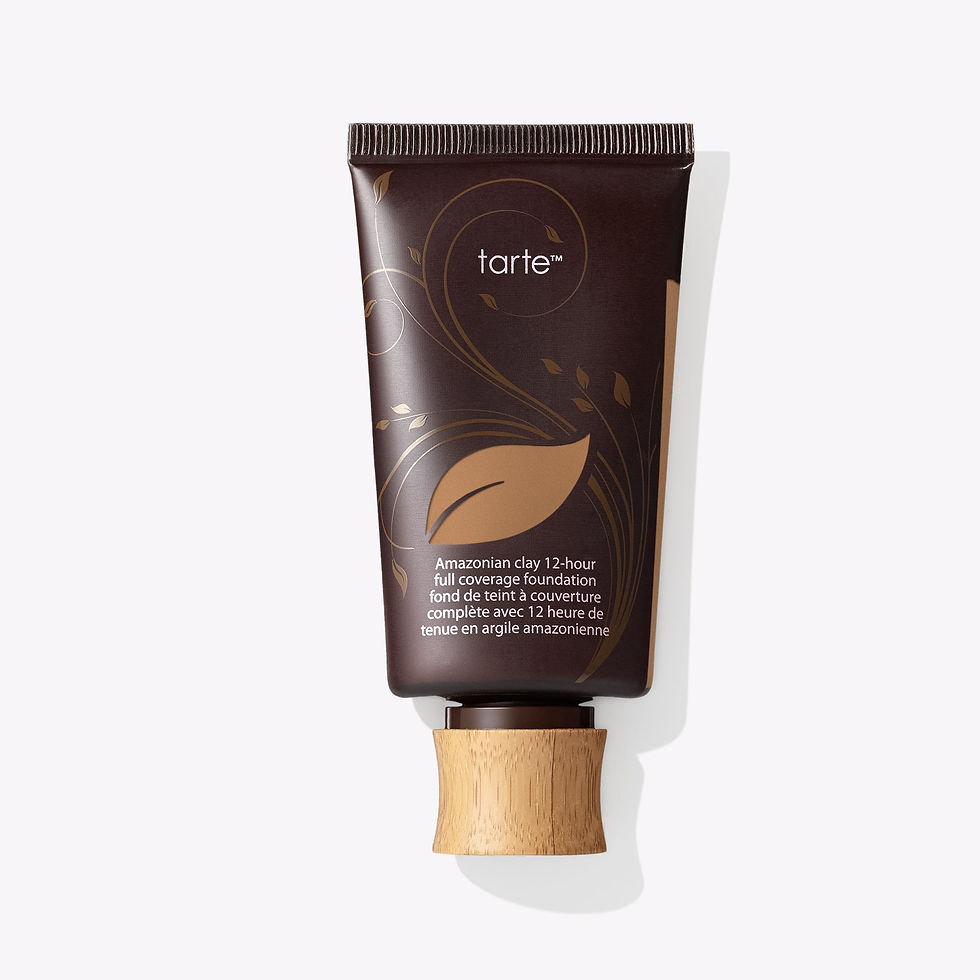
Kat's Favorite: I personally love Tarte's Amazonian Clay 12 Hour Full Coverage Foundation for my own no-makeup-makeup look. Despite the name, its coverage is actually buildable and its matte finish means it looks incredibly natural AND doesn't require a setting powder. It also survives my sweaty gym workouts which is a miracle.

STEP 2: Concealer
Also what I call "sleep in a bottle", concealer is what you should be using to hide smaller patches or spots of discolouration (in other words, use a lighter touch with the base so the coverage looks natural and then use a concealer like your own personal airbrusher). The most versatile concealer is a liquid (that's luminous or light reflecting)as it blends well and looks great under the eyes, but if your issue is red spots or pimples, a matte pot concealer is best as it helps 'flatten' the look of the spots. For red spots or scars, use your ring finger to pat a tiny bit of product over the affected area, and for under the eyes and larger areas that require liquid concealer, you could use your finger, a brush or best of all, a damp beauty blender. Always use a patting motion as dragging it will remove the base underneath.
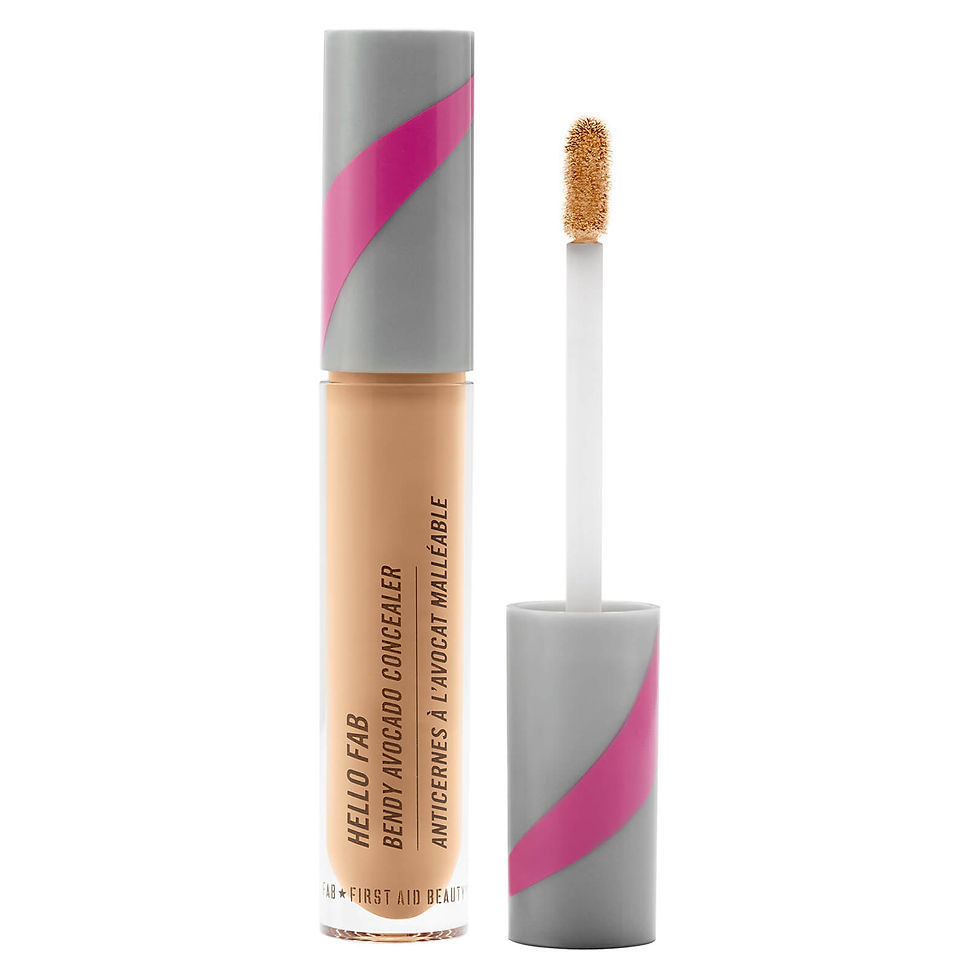
Kat's Favourite: The Hello FAB Bendy Avocado Concealer by First Aid Beauty & NARS Soft Matte Complete Concealer have become my makeup drawer staples, but even drugstore brands have fantastic options.


STEP 3: Blush
After chatting to countless women about their makeup habits, I found that this was the most commonly skipped step - and yet, would you believe that this is one of the most important for giving you a fresh and natural look? If concealer is sleep in a bottle, blush is youth in a jar. By using blush (whether powder or cream), you're imitating a natural flush that makes you look younger and healthier, plus it will stop your base from flattening out your features and looking unnatural. Try and find a color that is close to your own natural flush (whether that is pink, coral or rose) and avoid heavy, unnatural colours like mauve. Cream blush can be applied with your fingers or a beauty blender and powder blush with a fluffy blush brush. Start on the apples of your cheeks approximately 2 finger widths away from the side of your nose and brush it up towards your temples.
Kat's Favourite: NYX have so many comes of blush with beautiful colour range and they're crazy cheap. For a more natural look, stick to matte powder or cream blush but if you love shimmer, go for it - keeping in mind that a subtle shimmer is much more flattering than a glittery, chunky shimmer.

STEP 4: Matte bronzer
If you're feeling a bit pale or want to add some definition to your jaw and cheekbones, a matte bronzer is going to be your best friend. For a natural-looking tan, use a very fluffy brush and apply to most of your face, focusing on the areas that receive the most sun (top of forehead, cheekbones, nose). To use as a "face shaper", use a contouring brush (blush brush or smaller) and apply under your cheekbone (where you can feel the concave) from the hairline to about halfway down your cheek, level with the bottom of your nose. You can also apply it across your entire jawline (be sure to blend it out a little) to sharpen up your jaw - especially great if you're going to be on camera.
Kat's Favourite: The Hoola Matte Bronzer by Benefit Cosmetics has a colour perfect for any skin tone. I use Light and it's perfect for my peaches & cream complexion where most bronzers look dirty and orange on me!

STEP 5: Mascara
Nope, we're not worrying about eyeshadow for this look as it's simply about looking as polished as you can in as little time as possible. Instead, we'll jump straight to mascara which is going to open up and define your eyes with just the flick of an applicator brush. Focus on your upper lashes as this will make you look the most awake (plus it's less likely to smudge during the day). If you're very fair and want a natural look, stick to a brown mascara, but if you're not Snow White or want a more dramatic look, black is perfect. I love using a tubing formula as it has staying power but washes off really easily. Avoid waterproof unless you know you'll be crying or sweating as it tends to look dry and clumpy. Instead, go for a splash-proof or water resistant as it looks nicer but should still survive the day.
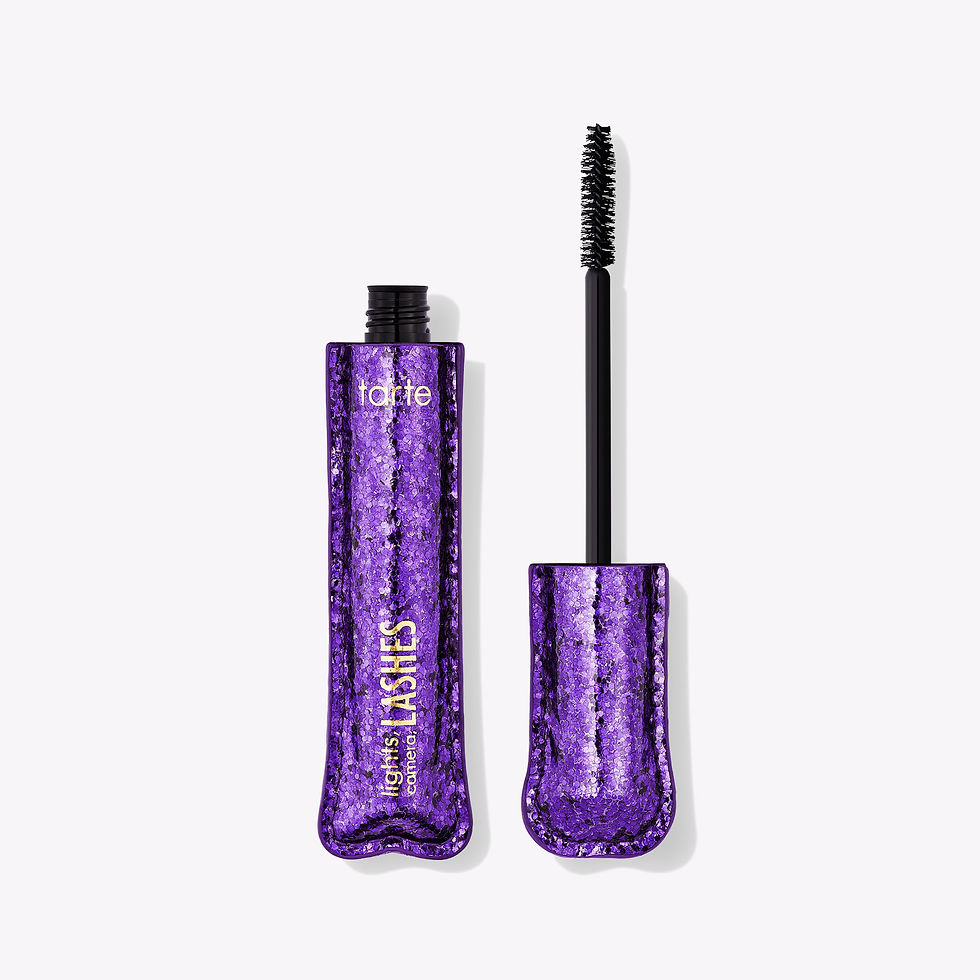
Kat's Favourite: There are so many mascaras I love from drugstore brands like Maybelline through to the high-end brands like Lancombe. But right now I'm loving the look of Tarte's Lights, Camera, Lashes 4-in-1 Mascara as it's both lengthening and volumizing without being clumpy.

OPTIONAL STEP: Setting Powder
I know I said 5 products, but this final one isn't necessary for everyone. If you use a base product that "sets itself" (for instance, that Tarte foundation I mentioned) or your lifestyle means you're not worried about makeup lasting all day, then you can skip this step. For those of you that have oily skin, a very active lifestyle, or really want the product to survive a long day, then a setting powder will make a huge difference. Use something translucent (pressed or loose, it doesn't matter) and pat on a tiny bit after applying your base concealer (if you use cream blush, it should go on after that too). Less is more and it's best to focus on the areas that "slide" the most (around the eyes, around the nose and anywhere oily).
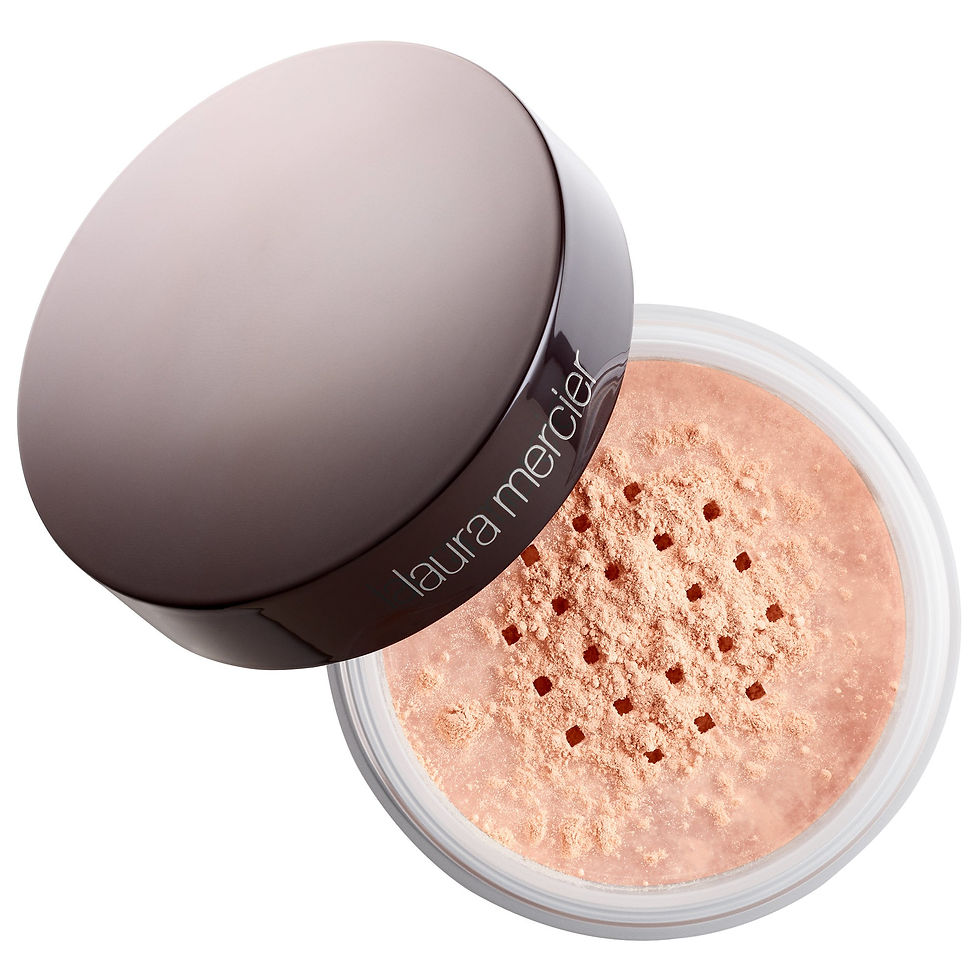
Kat's favourite: As a high-end product, Laura Mercier's Translucent Loose Setting Powder is incredible but if you are on a budget, Maybelline's FIT ME Loose Finishing Powder is almost identical!


And that's your 5-minute face! Sure, it might take a little bit of practice to cut the time down, but I promise it won't take you long before you're a total pro. Oh, and you'll notice I didn't mention lips. That's simply because on the days I want my makeup to be invisible, I just use whatever lip balm that's closest to me. You're, of course, welcome to use whatever you feel good in, however!
If you liked this little lesson but want to go a little deeper, I have a free mini-course called #READYINTEN that also covers my skin care recommendations, de-mystifies primer, and teaches you how to take this look up a notch so it's perfect for work and date night. You can sign up here for free and it'll also get you into my private Facebook group where you can ask questions and watch live tutorials. I hope to see you there soon!

Kat is an actor, writer, ex-makeup artist & the creator of GAMEFACE. Originally from Australia, she now lives in Vancouver with her partner where she works as an actor, runs her self-titled YouTube channel, and teaches women how to do their own makeup via online courses.


Comments